Using Administrator-Defined Reviewers with Manually Entered Email
Addresses
A hybrid approach lets the Final Cut Server administrator enter a static list of required
reviewers while also letting the user manually enter additional email addresses in the
“Required reviewers” field. This approach allows both the administrator and the user to
control who gets notification emails.
To manually define who receives Review and Approve email notifications
1
Locate the asset or project that you want to send out for review and double-click the
asset to reveal its info window.
2
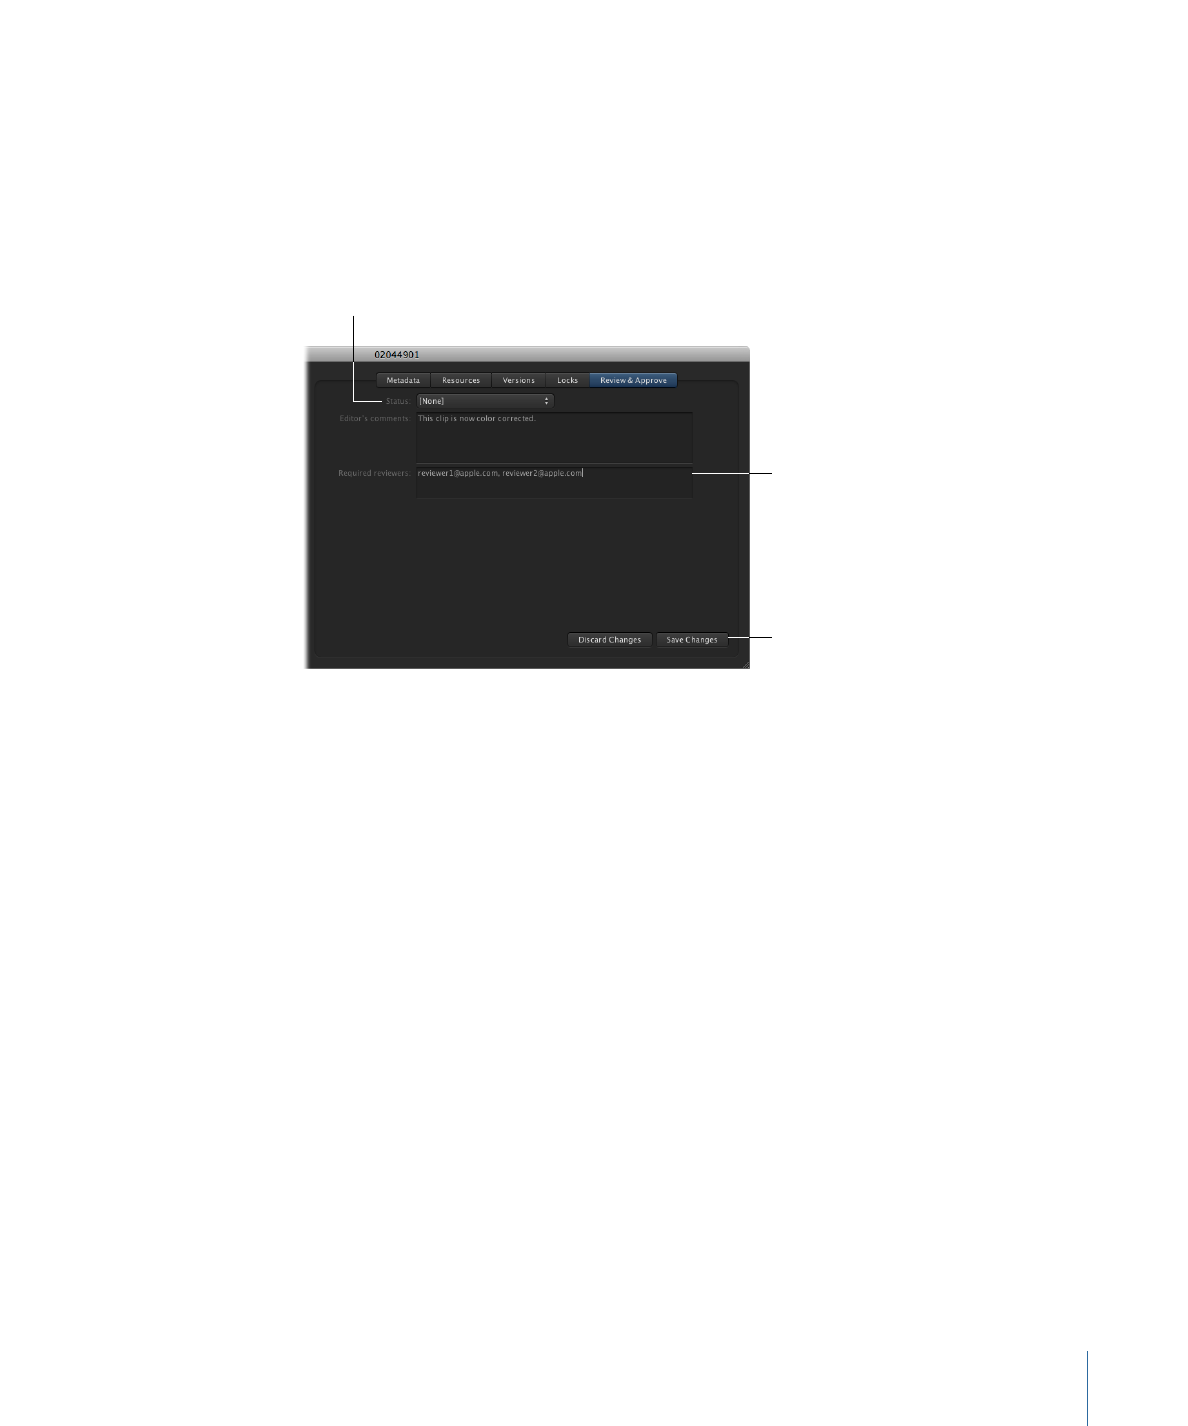
In the asset or project info window, click to open the Review & Approve pane.
3
If you want to add notes to the email, type them in the “Editor’s comments” field.
135
Chapter 9
Using Status Metadata in the Final Cut Server Workflow
4
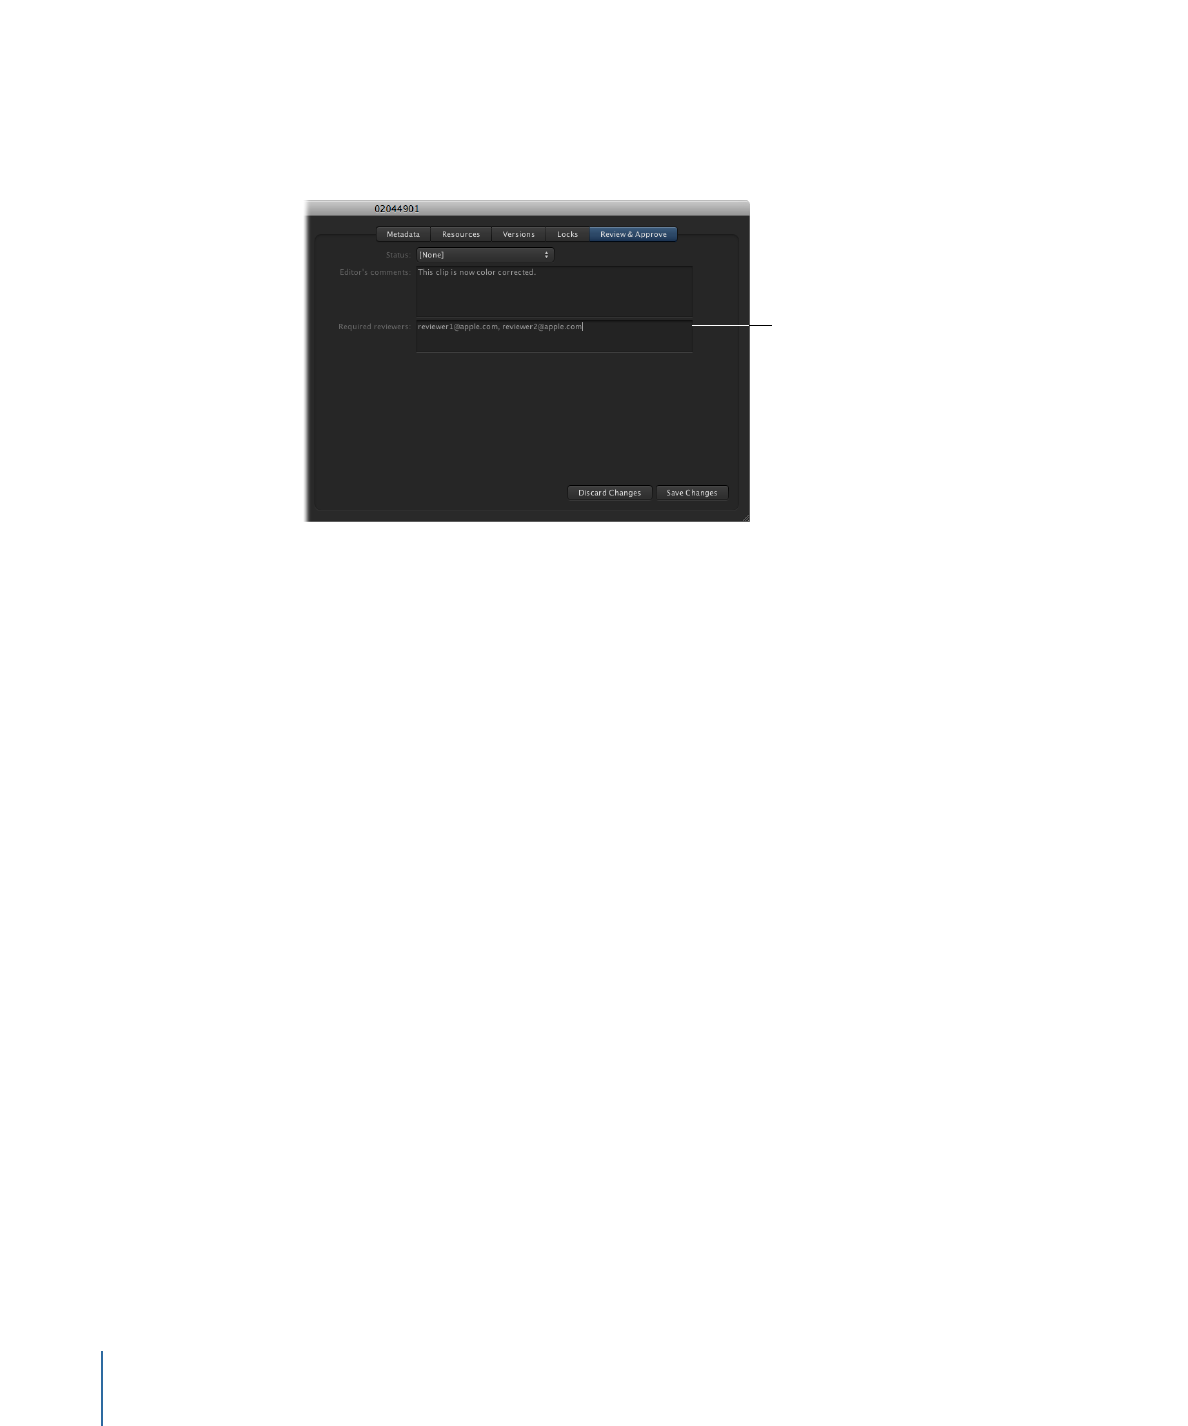
Enter a full email address for each of the required reviewers.
The addresses that you enter are added to the list of reviewers that was set up by your
Final Cut Server administrator.
Enter a full email address
for each of the required
reviewers.
Important:
Remember, your Final Cut Server administrator also defined a list of reviewers
who will receive every email sent from the Review & Approve pane. Be careful not to
send duplicate emails to reviewers by manually adding their addresses in the Review &
Approve pane.
5
When you are ready to send the email notifications to the required reviewers, change
the status of the metadata field to Ready for Review.
Note: The Status metadata field is available in both the Metadata and the Review &
Approve panes.
6
Click the Save Changes button at the bottom of the Review & Approve pane.
The notification email is sent to each of the addresses you entered in the “Required
reviewers” field and to each of the required reviewers that your Final Cut Server
administrator entered as default required reviewers.
136
Chapter 9
Using Status Metadata in the Final Cut Server Workflow

This chapter covers the final steps of working with an asset: outputting a final copy and
creating backup copies of assets. It also explains how to delete assets and productions
from Final Cut Server.
This chapter covers the following:
•
Outputting a Final Project
(p. 137)
•
Archiving and Restoring Media Assets
(p. 140)
•
Deleting Assets from Final Cut Server
(p. 141)
Outputting a Final Project
You can use the Export command to output media and project assets. You can export to
an external drive or another backup device, or you can export to your local system and
then move the files using the Finder.
If you are exporting a media asset, you can transcode the asset during export. However,
transcoding Final Cut Studio project assets and bundle assets is not recommended.
How you export your final project or media asset depends on the asset type. This chapter
presents steps for exporting a Final Cut Pro project, a Final Cut Studio or other project
asset and its linked media assets, a single media file, and a bundle asset.
Important:
After you export an asset from Final Cut Server, the asset is no longer tracked
by Final Cut Server.
Exporting a Media Asset
Exporting an individual media asset is simple.
To export an individual media asset
1
Control-click the asset, then choose Export from the shortcut menu.
The Export window appears.
137