
Checking In a Final Cut Pro Project
When you check a Final Cut Pro project back in to Final Cut Server, the new project replaces
the project that you checked out. Any linked media (including unused media that is in a
bin or folder) is updated, and any new media that was added is uploaded to
Final Cut Server.
If you are using version control with the Final Cut Pro project, the older checked-out
project is saved as a version of the project asset. If you are not using version control, the
old project asset is overwritten.
Checking in a project removes both the Checkout lock that was applied to the Final Cut Pro
project asset and the Reference locks that were applied to the media assets.
To check a project back in to Final Cut Server
1
In the Assets pane or in a production, do one of the following:
• Select the asset, then click the Check In button in the Toolbar.
• Control-click the project, then choose Check In from the shortcut menu.
109
Chapter 7
Working with Final Cut Pro Projects
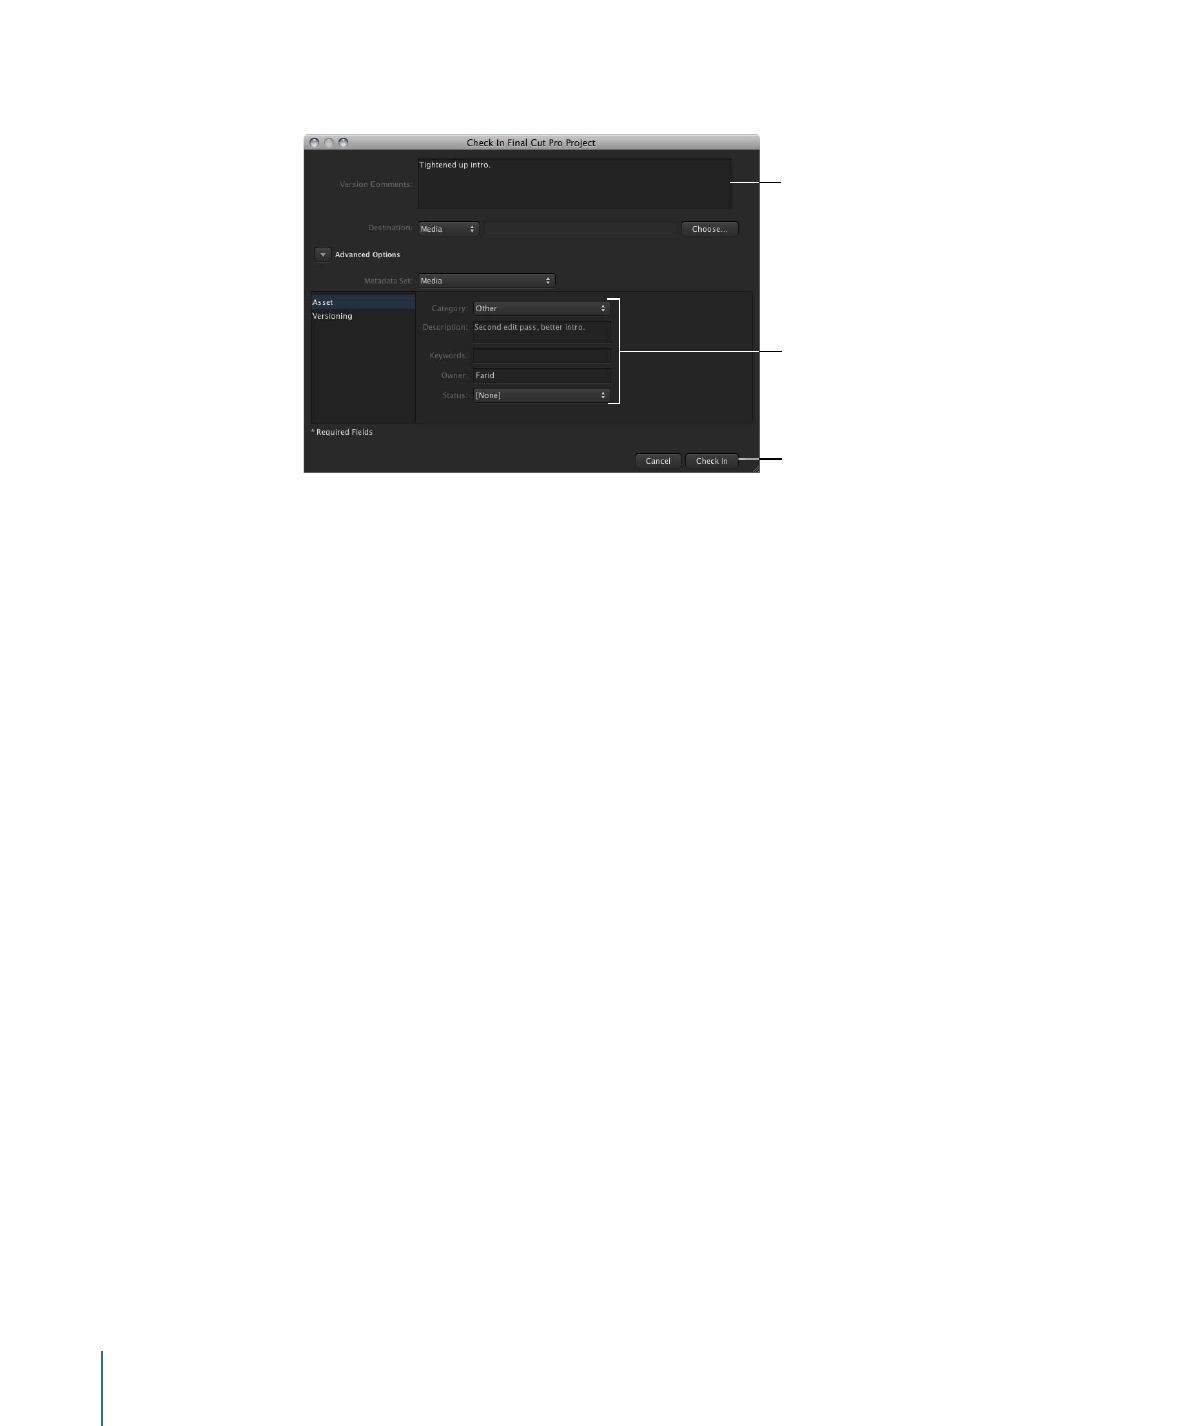
When you check in the project, a Check In window appears.
If version control is
turned on, the Version
Comments field appears.
Enter any appropriate
metadata.
Click Check In.
2
If version control is turned on, you can type comments in the Version Comments field.
3
If you have added new media files to the Final Cut Pro project, you can choose a metadata
set for the new media asset and add metadata to any of the available fields.
4
When you’re ready to check in the project, click the Check In button.
Final Cut Server uploads the new, edited project as well as any new linked media in the
project. If version control is turned on for the project asset, the old project is saved as a
version; if version control is not turned on, the old project is overwritten.