Working on Projects While Away from the Final Cut Server
Network
You can easily work on checked-out Final Cut Pro projects while your computer is not
connected to the Final Cut Server network.
111
Chapter 7
Working with Final Cut Pro Projects
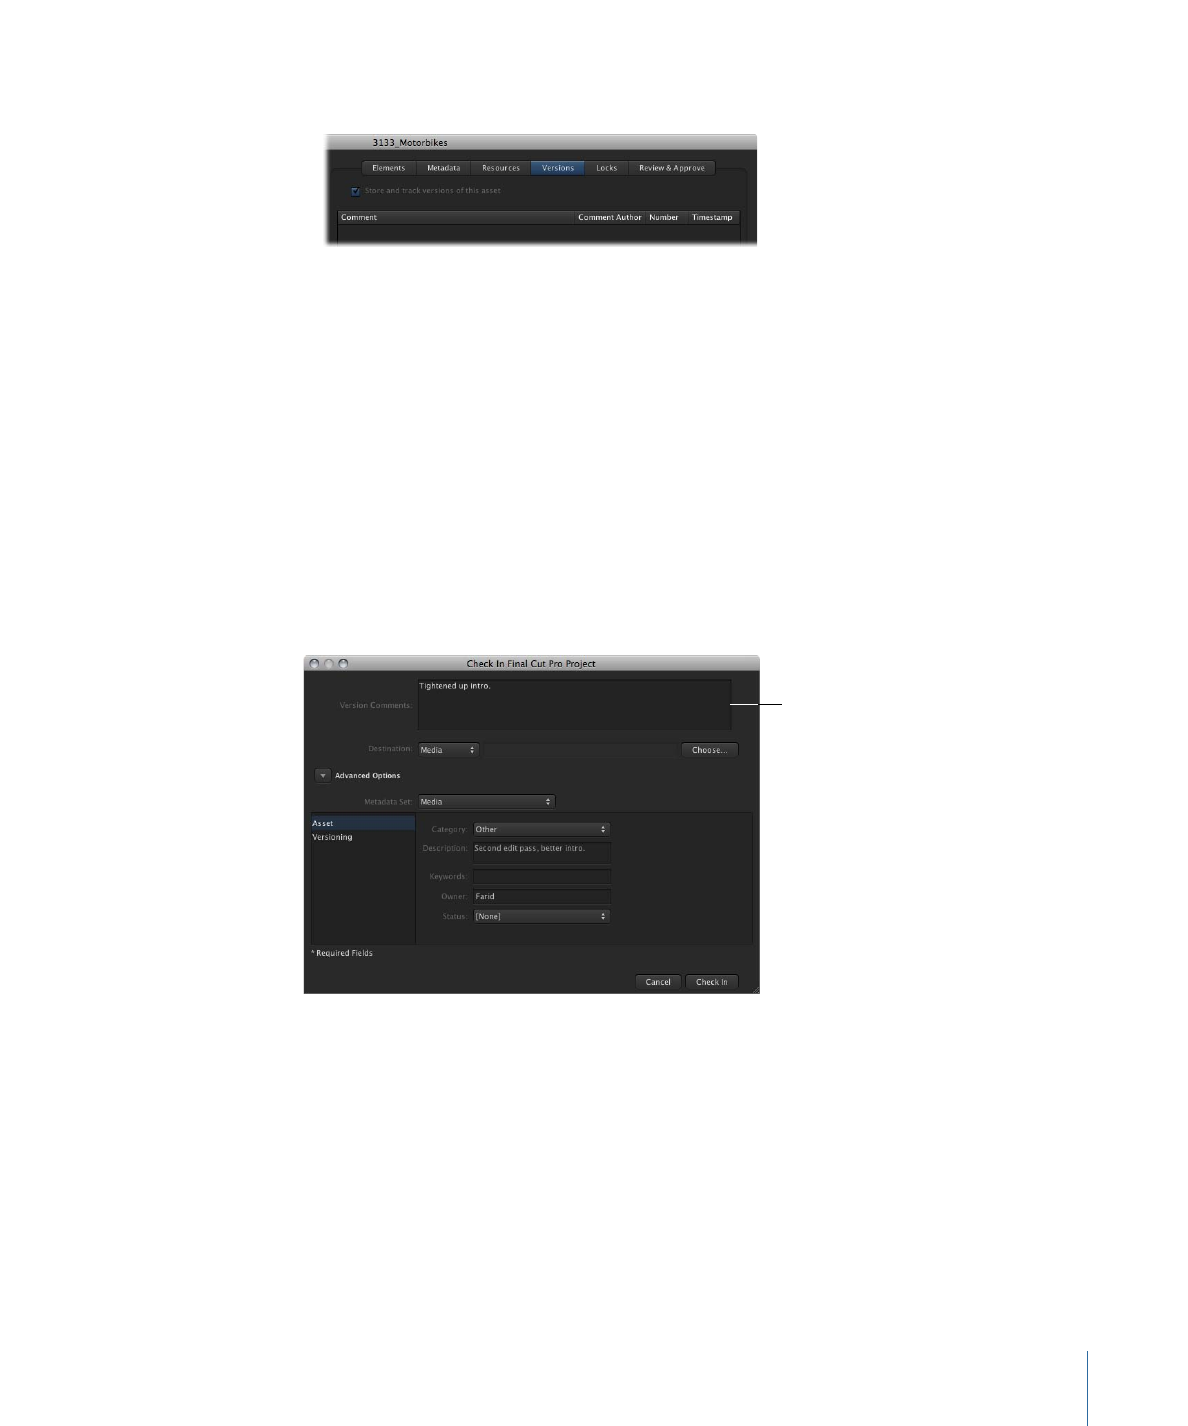
When you check out a project, you get to choose the location to check the project out
to. You also get to choose whether or not to include copies of the linked media assets at
the checkout location.
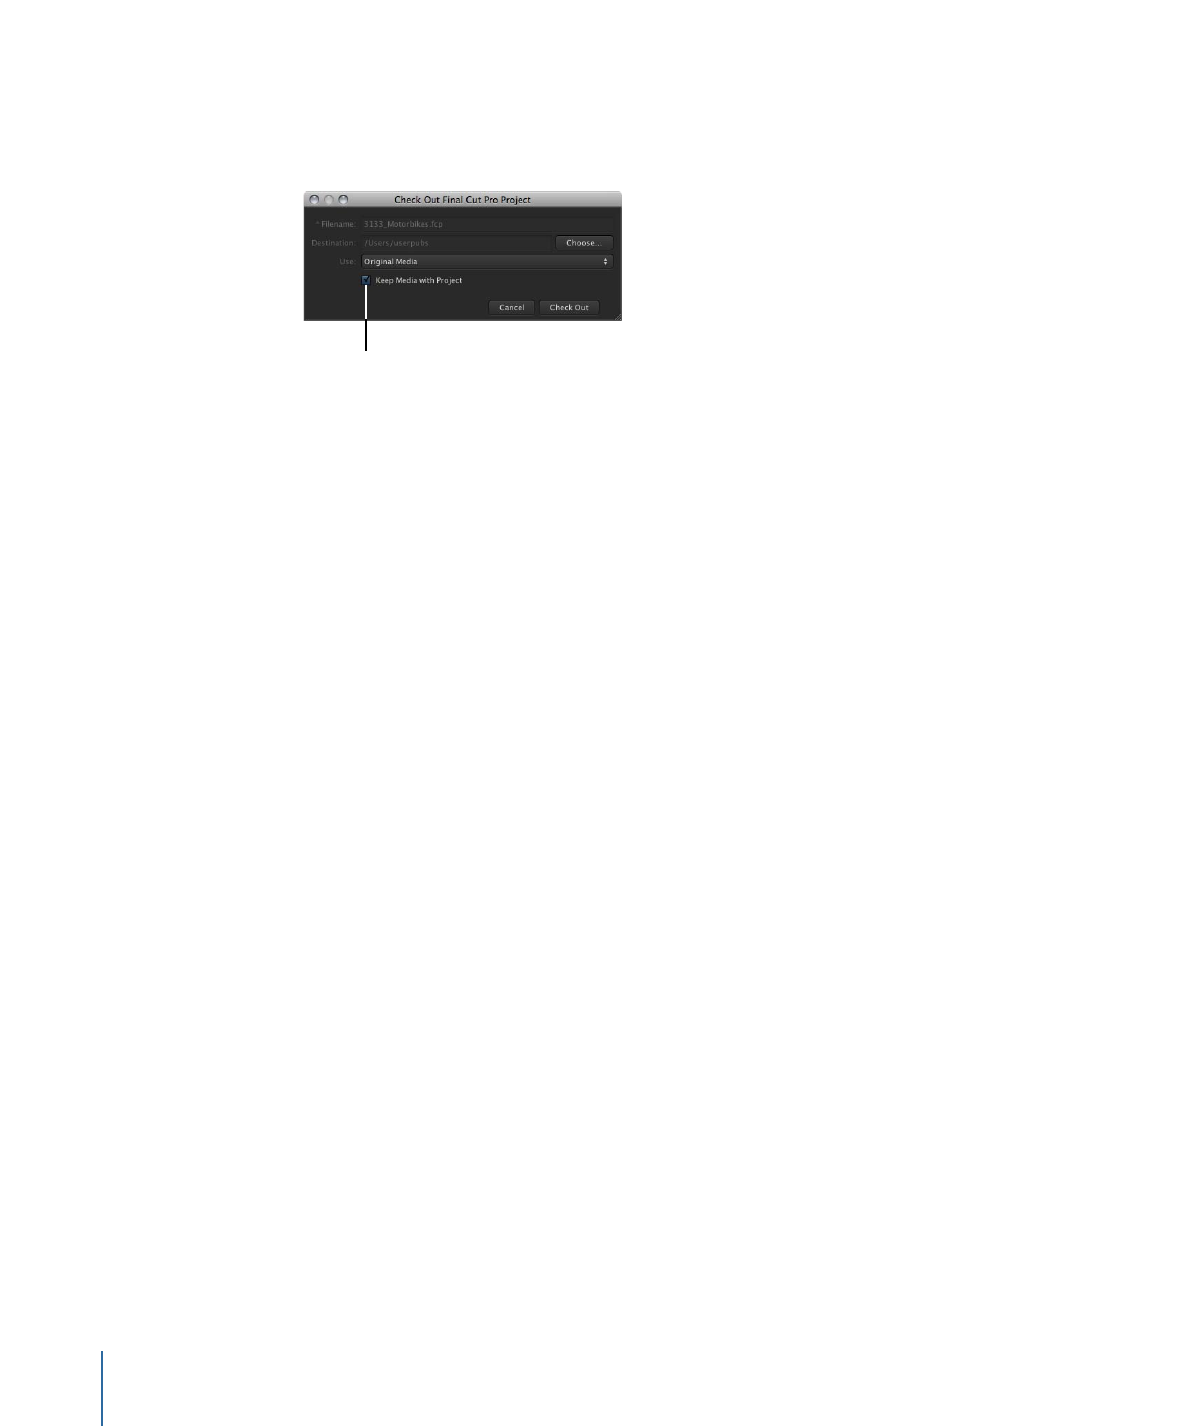
Select this checkbox to
include copies of the
linked media files at the
checkout location.
How you use these options depends on the device you are checking the project out to.
You can either check out a project on a system that has been connected to Final Cut Server,
like a laptop computer, or to an external drive.
If you are checking out the project to a computer that is connected to the Final Cut Server
network (for example, a portable computer that you carry between your work and your
home), you do not need to include the linked media in your checkout. This is because
the media files are stored in the computer’s Final Cut Server cache. After checking out
the project, you can carry your computer home and edit the checked-out project while
you are not connected to the Final Cut Server network. When you go back to work the
next day, you can log in to Final Cut Server and check in the edited project.
If you are checking the project out to an external drive, you must include the linked media
in your checkout. You do this by selecting the Keep Media with Project checkbox in the
Check Out window. Because the Final Cut Server cache is stored on your local computer,
a project that is checked out to an external drive will not have access to the media files
that are used in the Final Cut Pro project. Including the media in your checkout location
provides those files.
To check out a Final Cut Pro project to a portable computer for editing while not
connected to the Final Cut Server network
1
Log in to Final Cut Server using the computer on which you want to check out the project.
2
In Final Cut Server, locate the Final Cut Pro project asset that you want to check out.
3
Do one of the following:
• Select the Final Cut Pro project, then click the Check Out button in the Toolbar.
• Control-click the Final Cut Pro project, then choose Check Out from the shortcut menu.
4
In the Check Out Final Cut Pro window, choose a location to save the checked-out
Final Cut Pro project to by clicking the Choose button and identifying a location in the
file browser.
112
Chapter 7
Working with Final Cut Pro Projects

Note: To avoid losing track of checked-out projects, you can create a “Checked out
Final Cut Server projects” or similar folder on the desktop or in another convenient location.
5
Click the Check Out button.
The Final Cut Pro project asset is marked with the checkout icon in Final Cut Server. The
project and its linked media files are downloaded to your Final Cut Server cache location,
and an alias to the cached copy of the Final Cut Pro project is created in the location you
specified in the Check Out Final Cut Pro Project window.
You can track the progress of the checkout by watching the Jobs in Progress indicator.
The spinning gear indicates that Final Cut Server is downloading copies of the files you
checked out, and the number indicates the number of files being downloaded. For more
information, you can open the Downloads & Uploads window, which shows the specific
files being downloaded and information about the status of each downloaded file.
To check out a Final Cut Pro project to an external drive that will be connected to a
computer that is not connected to the Final Cut Server network
1
Locate the Final Cut Pro project asset that you want to check out.
2
Do one of the following:
• Select the Final Cut Pro project, then click the Check Out button in the Toolbar.
• Control-click the Final Cut Pro project, then choose Check Out from the shortcut menu.
3
In the Check Out Final Cut Pro window, navigate to the external drive you will be using
to transport the Final Cut Pro project by clicking the Choose button and identifying a
location in the file browser.
Note: To avoid losing track of checked-out projects, you can create a “Checked out
Final Cut Server Projects” or similar folder.
4
If the Edit Proxy feature has not been turned on, original media will be used by default.
If the Edit Proxy feature has been turned on, choose Original Media or Edit Proxy from
the Use pop-up menu.
This defines the media type that will be used while you’re editing the project.
5
Select the Keep Media with Project checkbox.
113
Chapter 7
Working with Final Cut Pro Projects
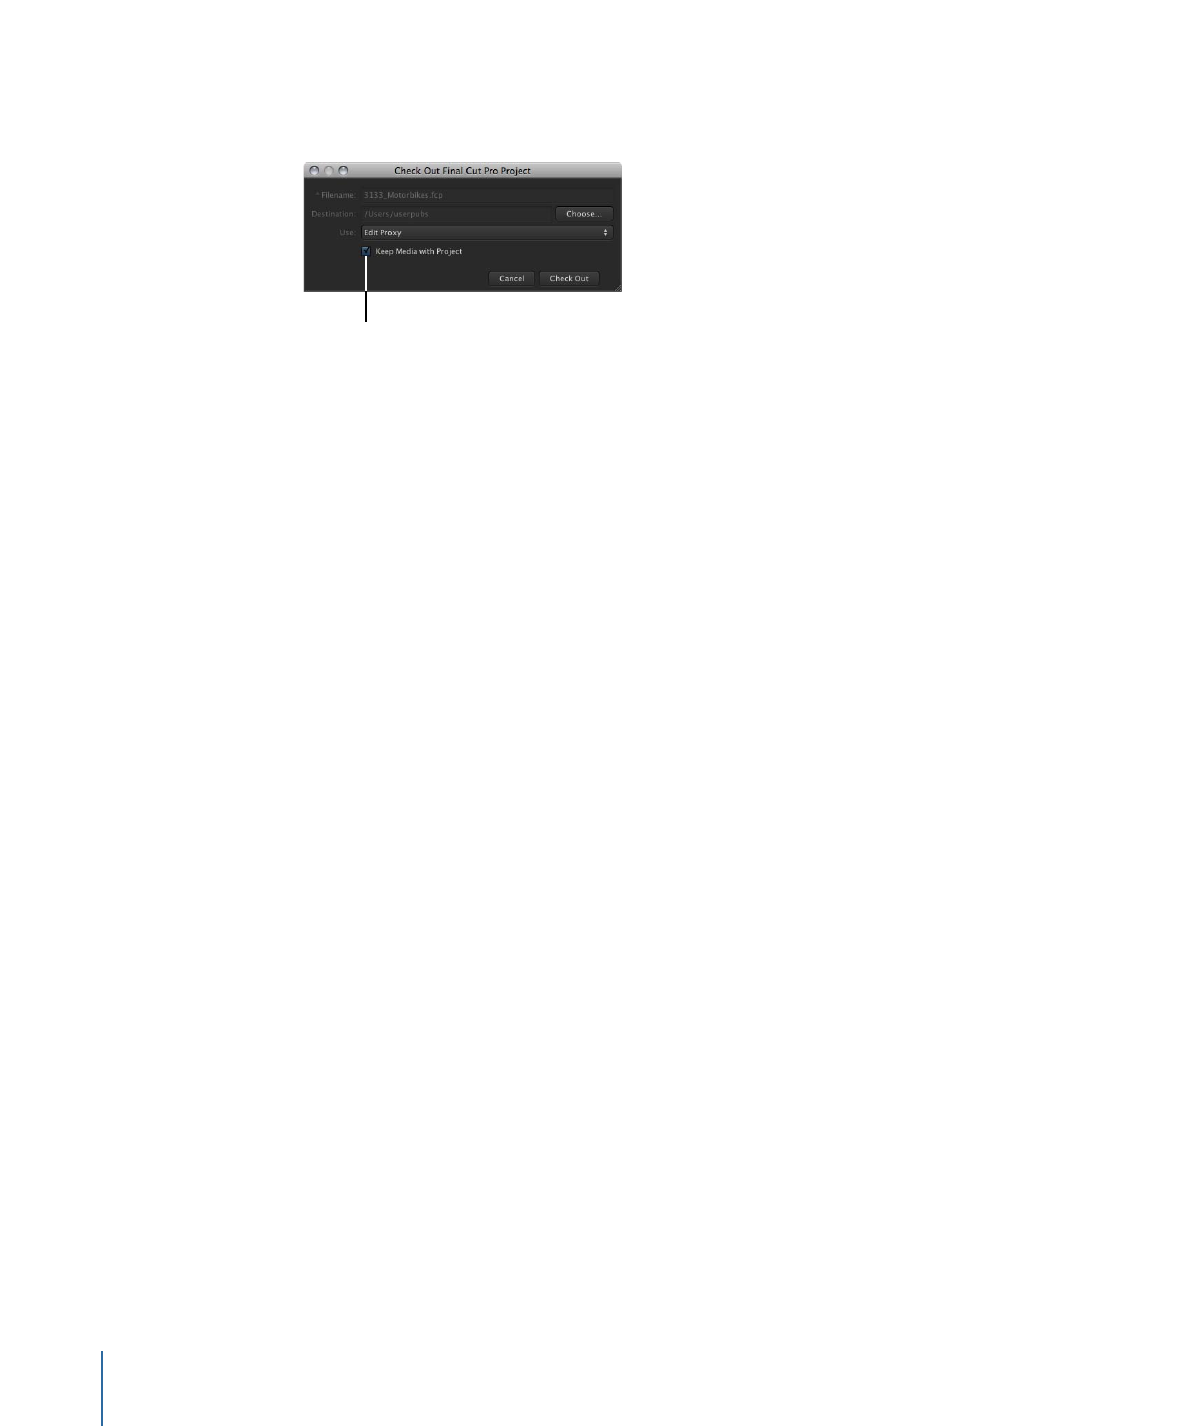
Important:
If you do not select the Keep Media with Project checkbox while checking
out a project to an external drive, the media files will not be available for you to use later.
Make sure that the
Keep Media with Project
checkbox is selected.
6
Click Check Out.
The Final Cut Pro project asset is marked with the checkout icon in Final Cut Server. The
project and its media files are checked out to the location on your external drive that you
specified in the Check Out window.