Checking Out a Project Asset and Its Linked Media Assets
Before you can successfully open a Final Cut Studio project, you need to check out or
export copies of the project’s media assets. Checking out an asset is the only way that
you can create a managed copy of the asset that you can check back in to Final Cut Server.
Check out the project asset using the steps below and then check out each of the media
assets. After checking out all of the media files, you can open the project file, reconnect
the media files, and begin editing.
To check out a Final Cut Studio project asset or media asset
1
Do one of the following:
• Select the project asset in the Assets pane or in a production, then click the Check Out
button in the Toolbar.
• Control-click the project asset, then choose Check Out from the shortcut menu.
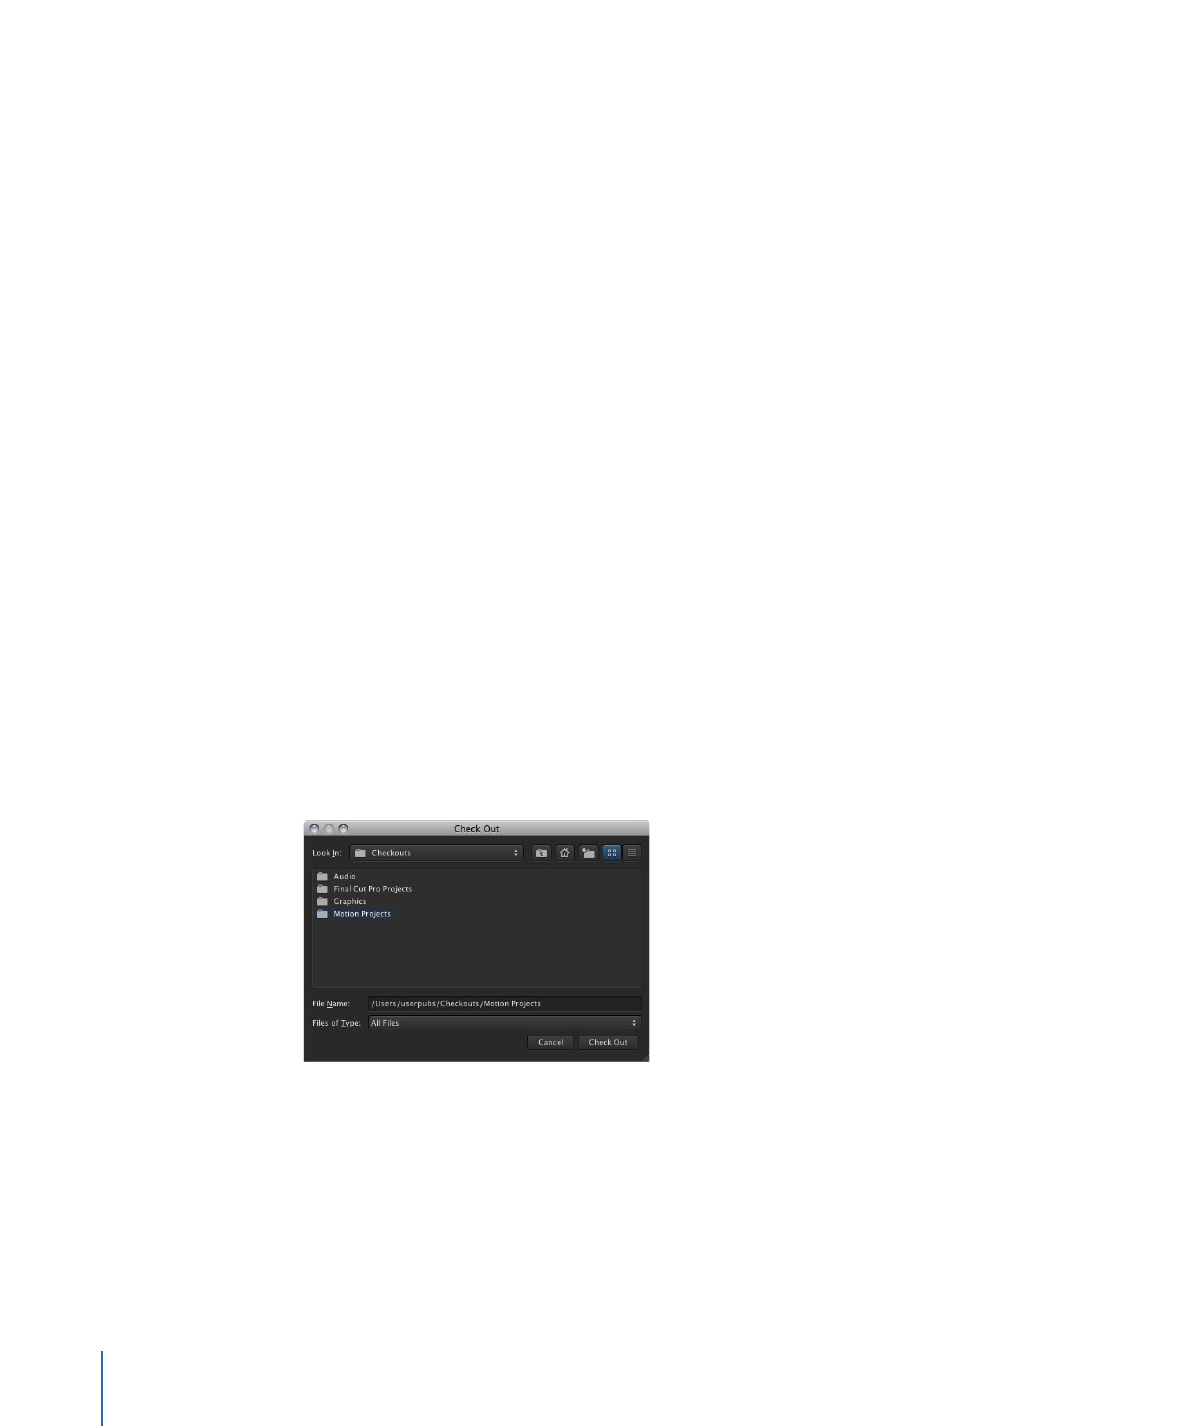
2
In the Check Out window, choose a location to save the checked-out project to by
navigating to the desired location.
Note: To make it easier to reconnect the project’s media, save the project file and all its
linked media files in the same location. You can create a “Checked out Final Cut Server
projects” or similar folder on the desktop or in another convenient location.
3
Click the Check Out button.
The project is checked out to the location you specified.
120
Chapter 8
Working with Final Cut Studio Projects

After checking out all of the media assets, you can open the project file, reconnect the
media files, and begin editing.
If you will not be editing the media files, you can export the files. Because you can export
multiple files, this is the faster choice. See
Exporting a Project Asset and Its Media
for
instructions on exporting media files.