
Checking the Project and Its Linked Media Files Back In
After you’ve edited the project file, you need to check it and its linked media files back
in to Final Cut Server. Each asset must be checked in separately.
122
Chapter 8
Working with Final Cut Studio Projects
Note: If you added any new assets to a project, you have to upload them separately. See
Uploading Final Cut Studio Projects
for more information.
To check in a project asset
1
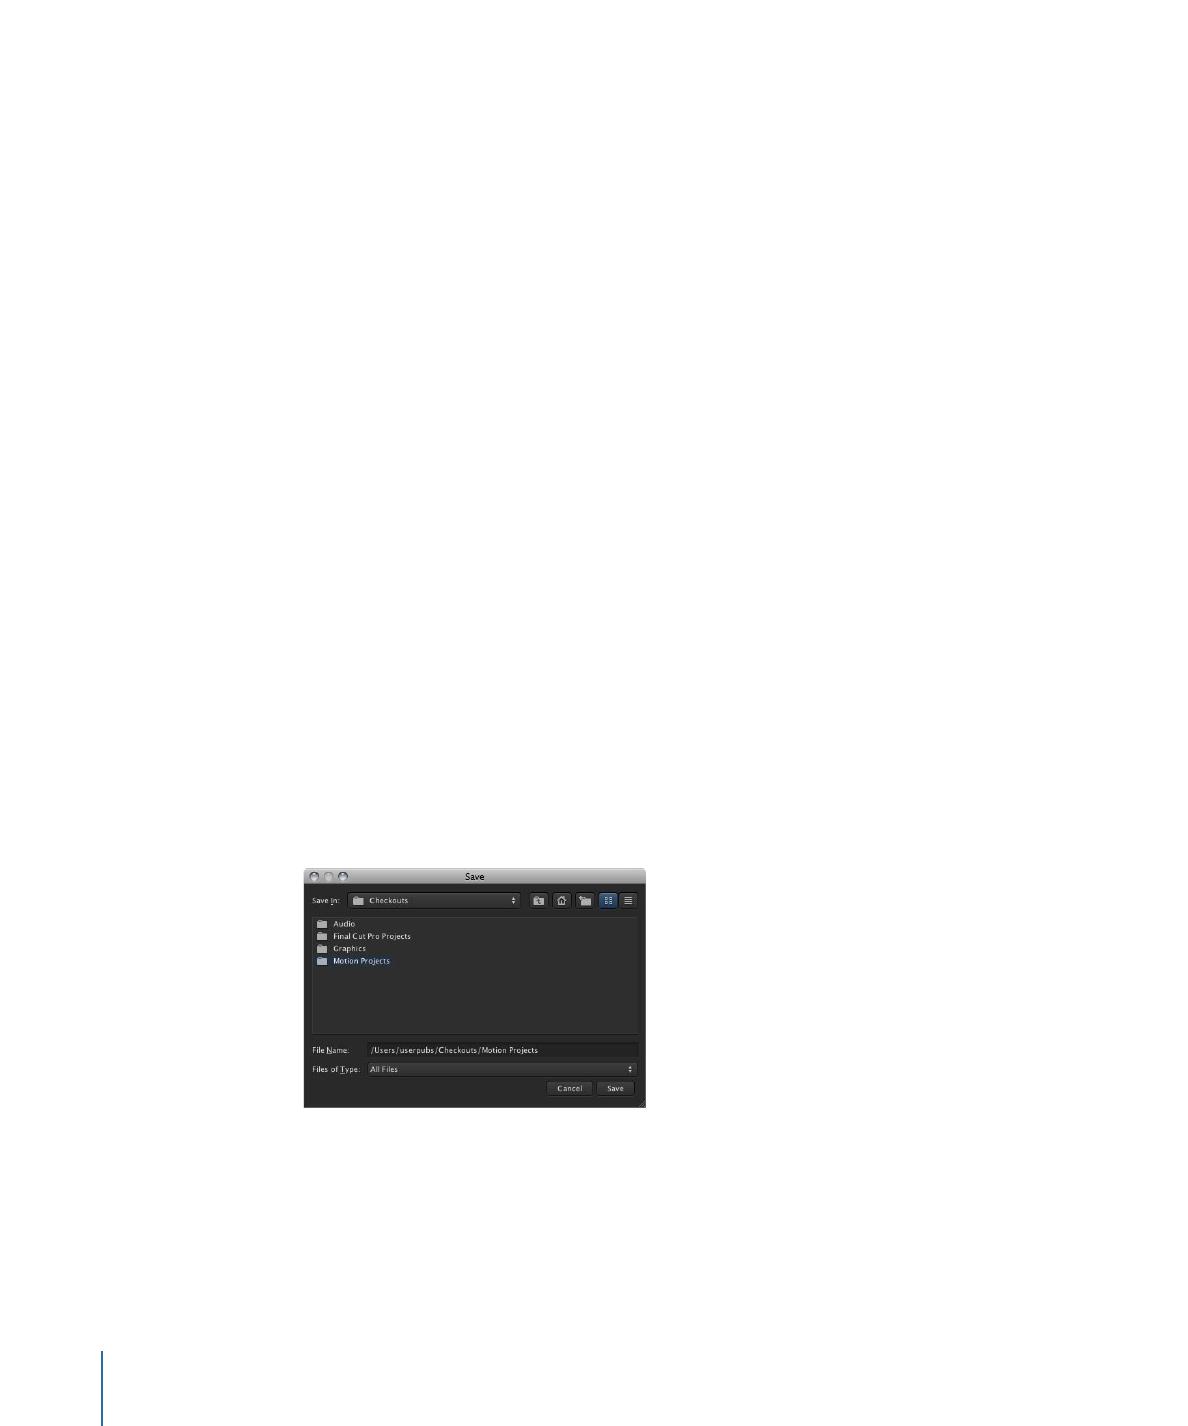
In the project’s original application, save the project to the checkout location.
2
In the Final Cut Studio application, save the project and choose to collect the media. In
Motion and Soundtrack Pro, you can do this by choosing File > Save As and choosing to
collect the media in the Save As window. In DVD Studio Pro, you need to manually place
the project and media files in a folder.
For specific information on using these applications, see the documentation that came
with the application.
Important:
When uploading a DVD Studio Pro project file and its linked media files, there
is no need to upload .par files. When you check out and open the project in
DVD Studio Pro, the .par files are automatically re-created.
3
In Final Cut Server, check the project file back in by doing one of the following:
• Select the checked-out project asset in the Assets pane or in a production, then click
the Check In button in the Toolbar.
• Control-click the project, then choose Check In from the shortcut menu.
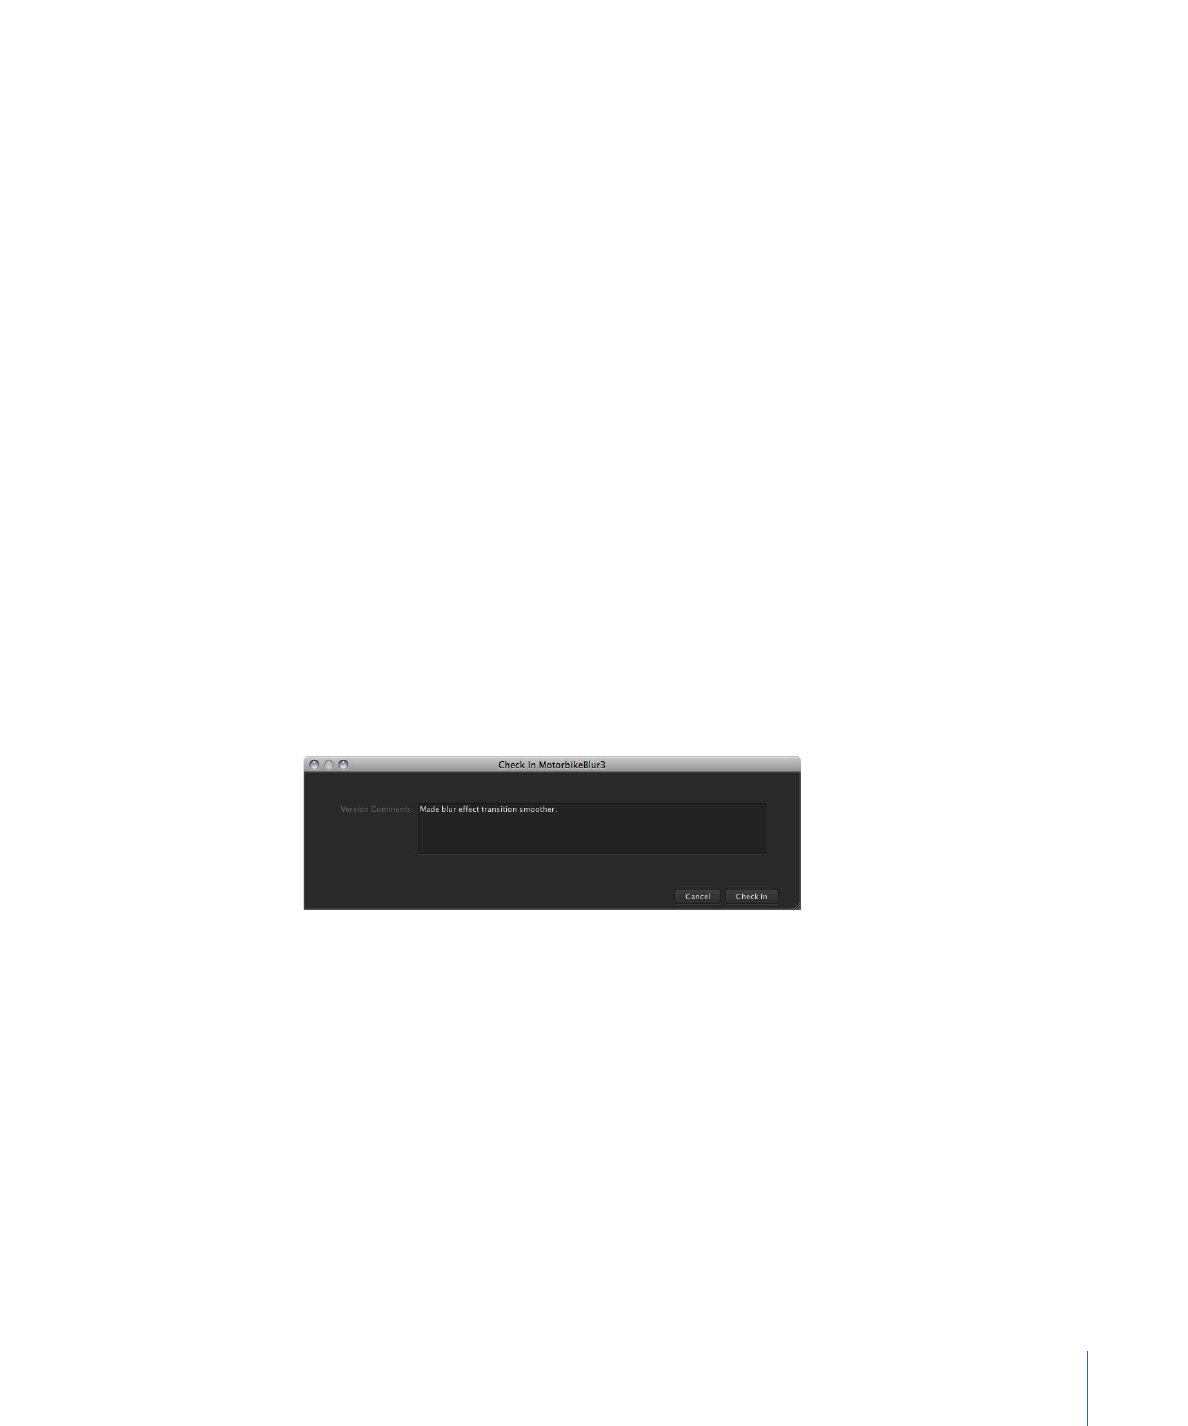
4
If version control is not turned on for the asset, the asset is checked in. If version control
is turned on for the asset, a Check In window appears. If appropriate, enter a version
comment and click Check In.
See
Adding Versions for a Media or Project Asset
for more information about version
control.
The Final Cut Studio project file is checked back in to Final Cut Server.
To check in a media asset
1
In Final Cut Server, check the file back in by doing one of the following:
• Select the checked-out media asset in the Assets pane or in a production, then click
the Check In button in the Toolbar.
• Control-click the checked-out media asset, then choose Check In from the shortcut
menu.
123
Chapter 8
Working with Final Cut Studio Projects
2
If version control is not turned on for the asset, the asset is checked in. If version control
is turned on for the asset, a Check In window appears. If appropriate, enter a version
comment and click Check In.
See
Adding Versions for a Media or Project Asset
for more information about version
control.
The updated media asset is checked back in to Final Cut Server.