
Checking Media Assets In and Out
A media asset represents a single media file, and as such, is easy to work with. To edit a
media asset, you can check it out, edit it, and then check it back in to Final Cut Server.
A media asset can also be exported, edited, and then uploaded to Final Cut Server as a
new asset; however, when you export a media asset, the asset is no longer managed by
Final Cut Server. If you make changes to the media file and want Final Cut Server to
manage it again, you will need to create a new asset for the file by checking the file back
in to Final Cut Server.
Although a media asset represents a single media file, a media asset is rarely unattached.
Media assets can be referenced as elements of a Final Cut Pro project asset or referenced
in other Final Cut Studio project assets. When you modify an asset, you could inadvertently
be modifying how that asset appears in several different project assets. It’s good practice
to always check the Resources pane of a media asset to verify which projects an asset is
linked to.
If you know that the changes you are about to make to an asset apply to every one of
the projects it is connected to, go ahead and edit the asset. If you don’t recognize the
linked assets that are shown in the Resources pane, consider exporting the asset and
then uploading it again as a new media asset, and manually replacing the asset in the
necessary projects. Doing this might take a few extra minutes, but it could save you and
your coworkers hours of backtracking later on.
Remember that when a media asset is checked out, the asset cannot be edited, checked
out, deleted, or archived by another user.
To check out a media asset, edit it, and check the edited media file back in to
Final Cut Server
1
Locate the media asset that you want to check out.
97
Chapter 6
Working with Media Assets
2
Do one of the following:
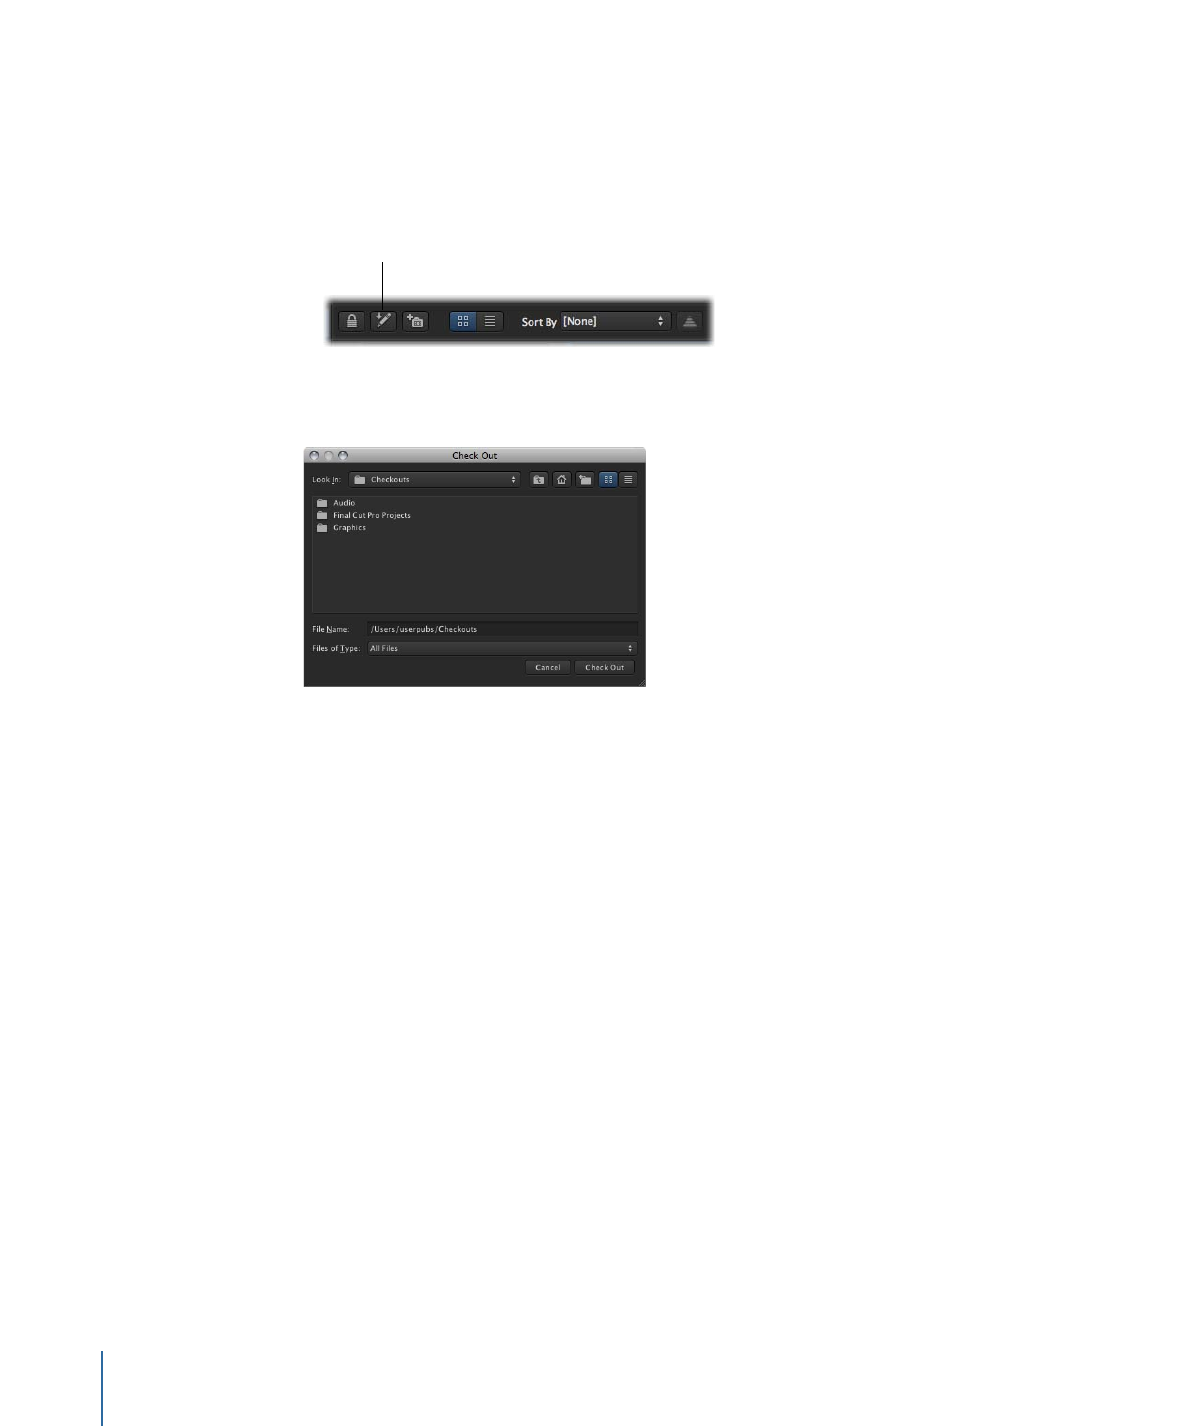
• Select the asset, then click the Check Out button in the Toolbar.
• Control-click the media asset, then choose Check Out from the shortcut menu or click
the Check Out button.
Click the Check Out
button.
3
In the Check Out window that appears, choose a location to save the checked-out media
file.
4
Click the Check Out button.
5
To open the file in its original application, do one of the following:
• Drag the file from Final Cut Server to the application icon in your Dock.
• Drag the file from the checkout location to the original application icon in your Dock.
• Open the file in its original application by choosing File > Open.
6
Edit the file.
Tip: While you’re editing the media asset, you can update it in Final Cut Server. After
saving the asset in its original application, locate the asset in Final Cut Server, Control-click
the asset, then Choose Update Asset from the shortcut menu. If version control is turned
on for the asset, you can optionally enter a comment in the Check In window that appears.
7
Save the new file to the checkout location.
Important:
Saving to any location other than the original checkout location will prevent
Final Cut Server from managing the file.
8
In Final Cut Server, check the file back in by doing one of the following:
• Select the checked-out asset, then click the Check In button in the Toolbar.
• Control-click the asset, then choose Check In from the shortcut menu.
If version control is not turned on for the asset, the asset is checked in.
98
Chapter 6
Working with Media Assets

9
If version control is turned on for the asset, a Check In window appears. If appropriate,
enter a version comment and click Check In.
See
Adding Versions for a Media or Project Asset
for more information about version
control.
The updated media asset is checked back in to Final Cut Server, and the checkout icon
disappears from the asset thumbnail.