Checking Bundle Assets In and Out
When you check out a bundle asset, the project file and its linked media files are all
contained in the folder that appears at the checkout location. You can check out the
bundle asset to any location and have access to the project and media files whether or
not you are connected to Final Cut Server.
Remember that when you check out an asset, it is locked with a Checkout lock and the
asset’s primary representation cannot be modified; however, the asset’s metadata can
be modified by any user.
To check out a bundle asset, edit it, and check it back in
1
Do one of the following:
• Select the Final Cut Studio asset that you want to check out in the Assets pane or in a
production, then click the Check Out button in the Toolbar.
• Control-click the media asset, then choose Check Out from the shortcut menu.
2
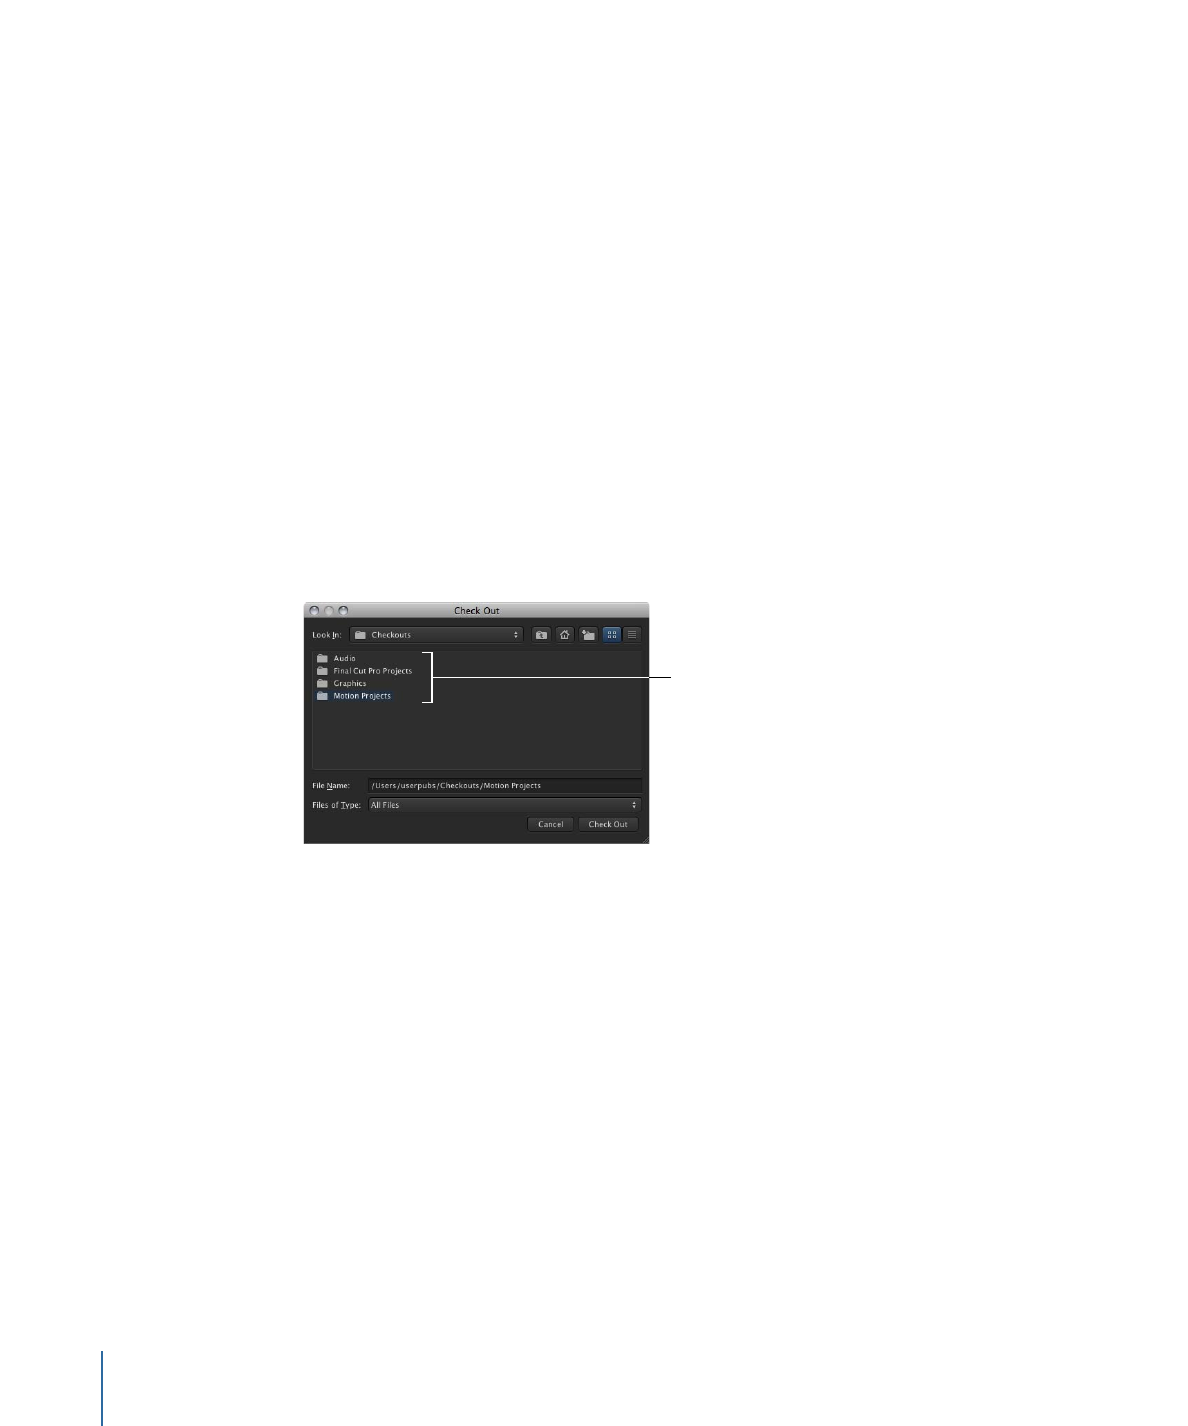
In the Check Out window that appears, choose a location where you want to save the
checked-out bundle asset by navigating to the desired location.
Navigate to the location
you want to save
the checked-out
bundle asset.
3
Click the Check Out button.
The folder of files that was contained in the bundle asset appears in the location you
specified.
4
To open the project file in its original application, do one of the following:
• Drag the project file from the checkout location to the original application icon in your
Dock.
• Open the original application, choose File > Open, then navigate to the project file.
5
Edit the Final Cut Studio project file.
118
Chapter 8
Working with Final Cut Studio Projects
Tip: While you’re editing the Final Cut Studio asset, you can update it in Final Cut Server.
Note that only the asset will be updated, and you will need to manually upload any new
media files to Final Cut Server. After saving the asset in its original application, locate the
asset in Final Cut Server, Control-click the asset, then Choose Update Asset from the
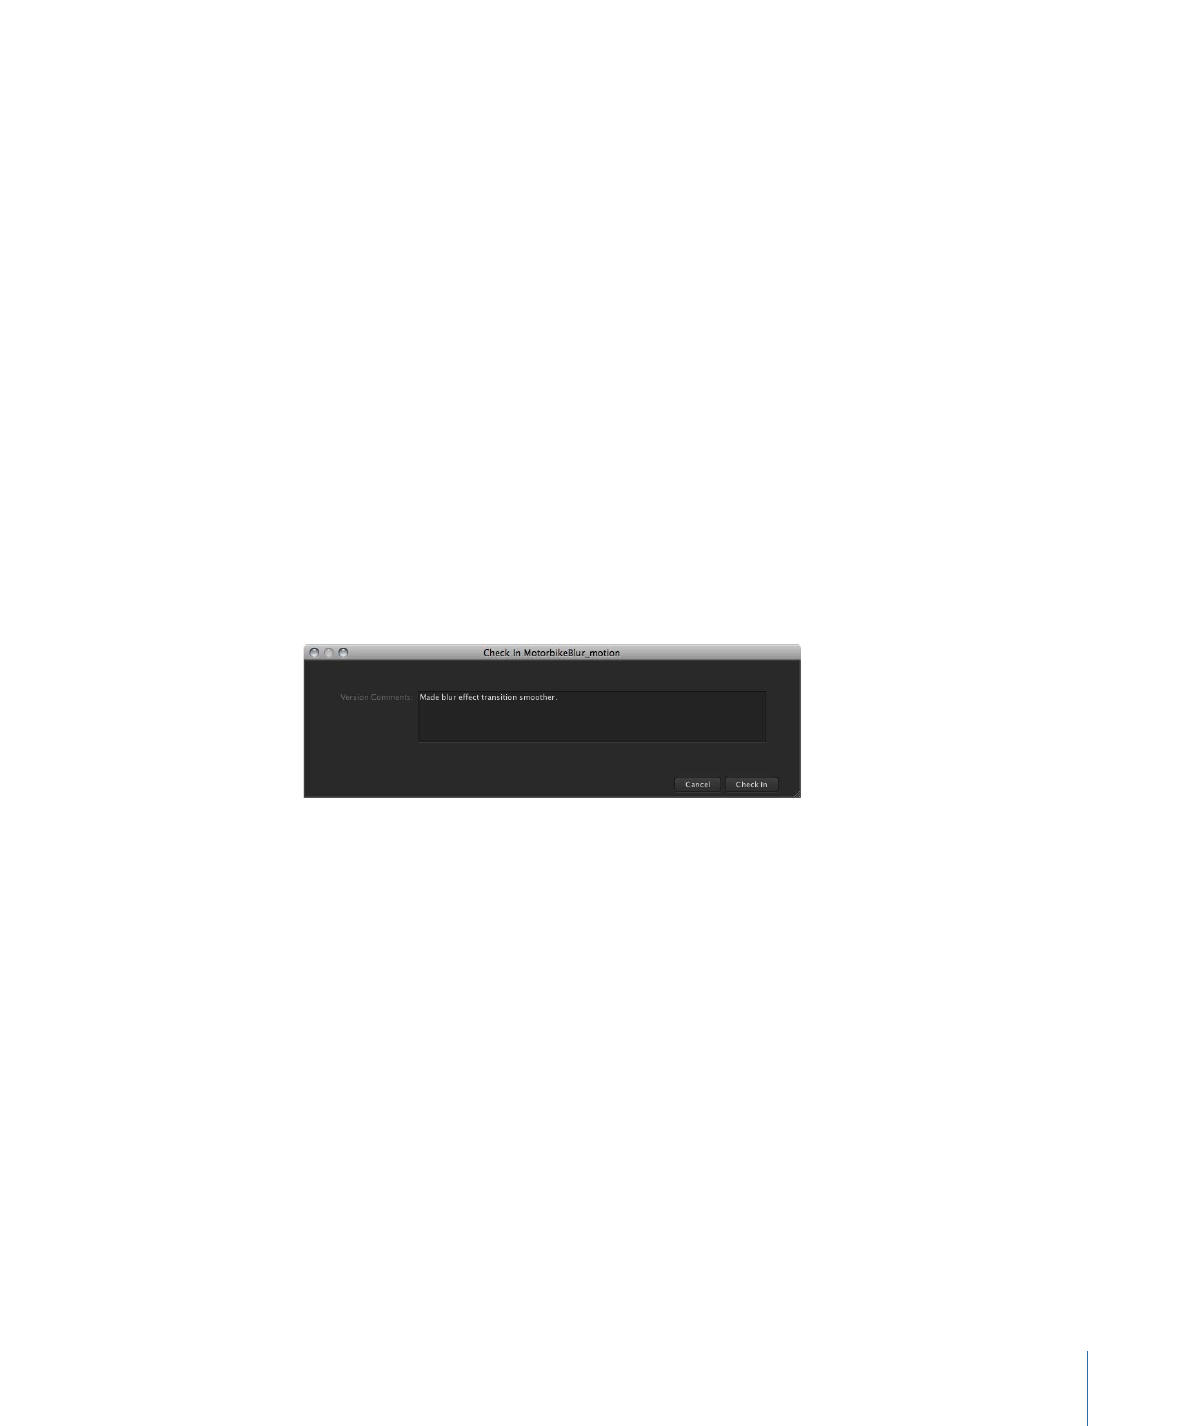
shortcut menu. If version control is turned on for the asset, you can optionally enter a
comment in the Check In window that appears.
6
Save the Final Cut Studio project file to the checkout location.
Important:
Saving to any location other than the original location prevents Final Cut Server
from managing the file.
7
In Final Cut Server, check the folder back in by doing one of the following:
• Select the checked-out bundle asset in the Assets pane or in a production, then click
the Check In button.
• Control-click the checked-out bundle asset in the Assets pane or in a production, then
choose Check In from the shortcut menu.
8
If version control is not turned on for the bundle asset, it is checked in. If version control
is turned on for the bundle asset, a Check In window appears. If appropriate, enter a
version comment and click Check In.
See
Adding Versions for a Media or Project Asset
for more information about version
control.
The updated folder is checked back in to Final Cut Server.