Exporting a Project Asset and Its Media
You can always export a copy of a Final Cut Studio project asset and its media files that
were uploaded as a bundle asset, or a project asset and media assets that were uploaded
as individual assets, even if the project or media assets are locked or checked out by
another user. However, it’s important to note that exported project and media files cannot
be checked in or otherwise referenced to the original project or media assets.
If you uploaded the original project and its media files as a bundle asset, you can export
the bundle asset in one step. If you uploaded the original project and its media files as
individual assets, you need to export the project asset, then export all of the media assets.
Exporting media assets takes less time than checking out media assets, because you can
export multiple assets from Final Cut Server.
To export a copy of a bundle asset
1
Control-click the bundle asset, then choose Export from the shortcut menu.
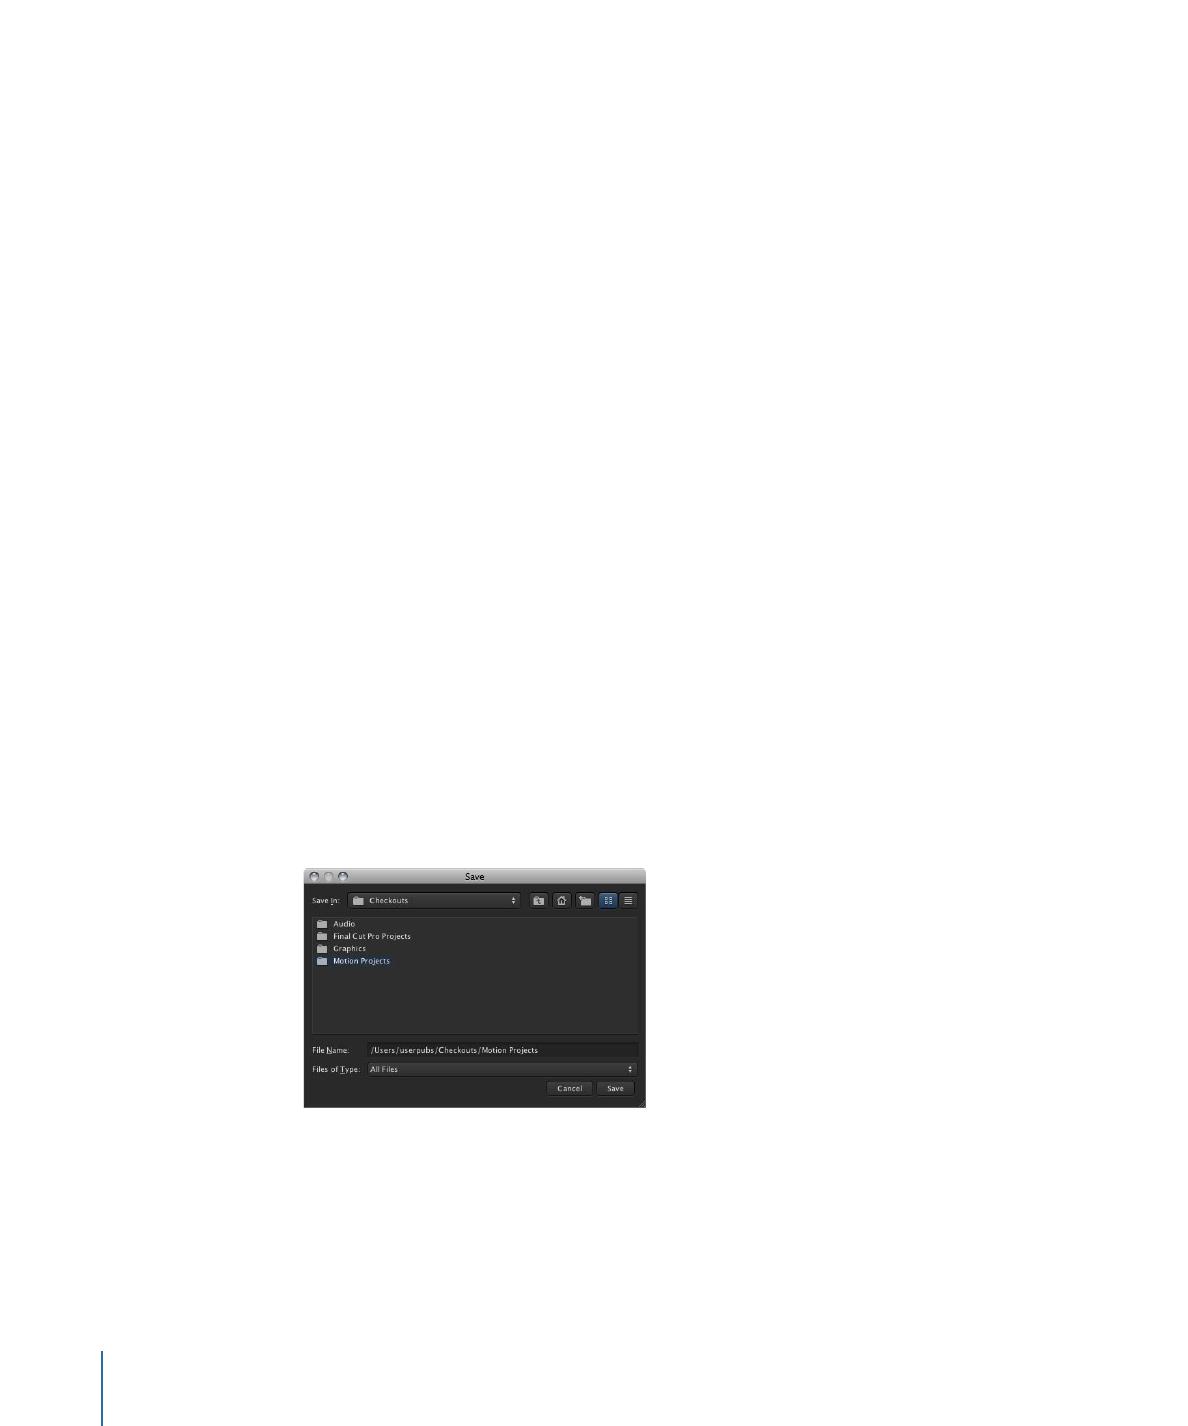
The Save window appears.
2
In the Save window, choose a destination to save the exported bundle asset to by clicking
the Choose button, identifying a location in the file browser, and clicking Save.
The Export window appears.
3
In the Export window, click the Export button.
Important:
Do not choose a transcode setting for the bundled asset. Choosing a transcode
setting while exporting a project asset and its media files will transcode all the files to
the setting you specify, and corrupt one or more files.
124
Chapter 8
Working with Final Cut Studio Projects

A copy of the folder that is contained in the bundle asset is exported to the location you
specified in the Export window.
To export a Final Cut Studio project asset and linked media assets that were uploaded
as individual assets
1
Select the project asset and media assets. If the project and media assets were created
using the recommended method, the assets should be grouped in a Final Cut Server
production and have metadata that is unique to the project and media assets.
See
Uploading Final Cut Studio Projects
for more information on the recommended
method for uploading a Final Cut Studio project and its media files as individual assets.
Note: Switching to List view in the Productions pane can make it easier to Shift-click a
list of assets.
2
Control-click one of the selected assets, then choose Export from the shortcut menu.
The Multiple Export window appears.
3
In the Multiple Export window, choose a destination to save the media assets to by clicking
the Choose button and identifying a location in the file browser.
Note: To avoid losing track of exported projects, you can create a folder for the project
and its media on the desktop or in another convenient location.
4
Do not choose a transcode setting.
5
Click the Start button.
Each of the selected assets is exported to the location you specified in the Multiple Export
window.
125
Chapter 8
Working with Final Cut Studio Projects

This chapter explains how to use the Status metadata field to aid in tracking assets through
your Final Cut Server workflow. If your organization diligently updates the Status metadata
field on each of its assets and productions, you can easily search for every asset and
production that is in each stage of the workflow process. This chapter also discusses using
emails to notify others when an asset’s Status metadata field is set to Ready for Review.
This chapter covers the following:
•
Using Status Metadata to Track Assets and Productions
(p. 127)
•
About the Review and Approve Feature
(p. 131)
•
Using the Review and Approve Feature
(p. 132)
Using Status Metadata to Track Assets and Productions
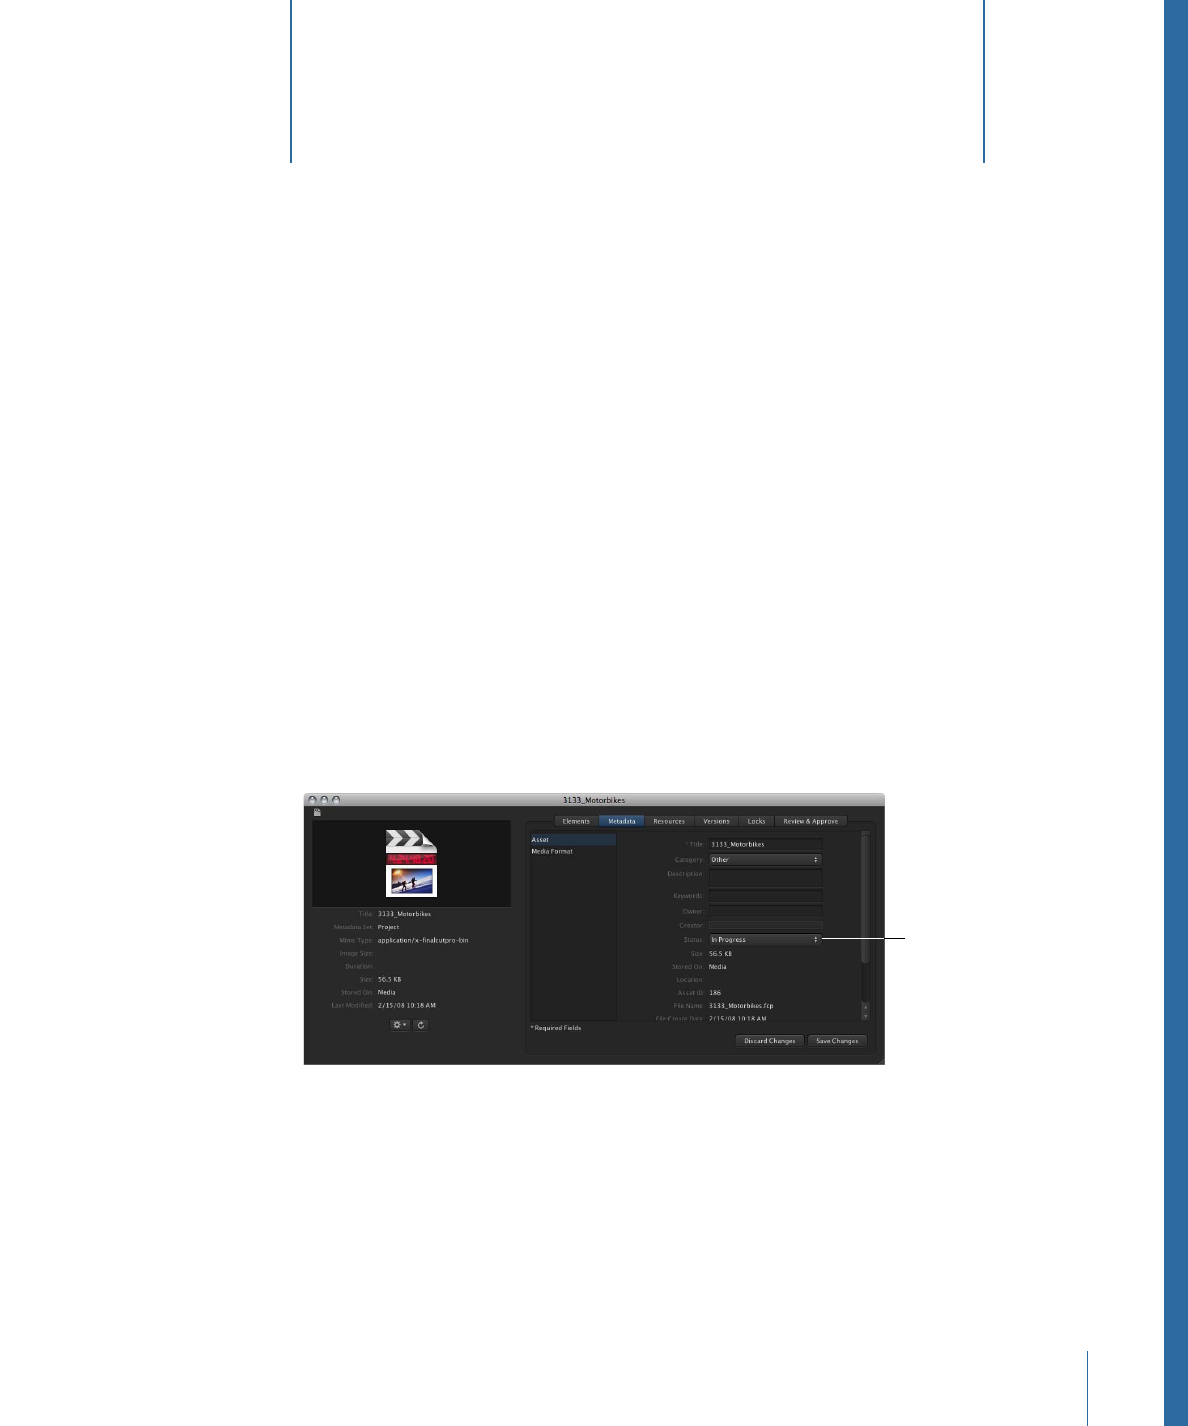
The Status metadata field shows you where an asset is in the Final Cut Server workflow.
This Final Cut Pro
project asset’s status
is set to In Progress.
127